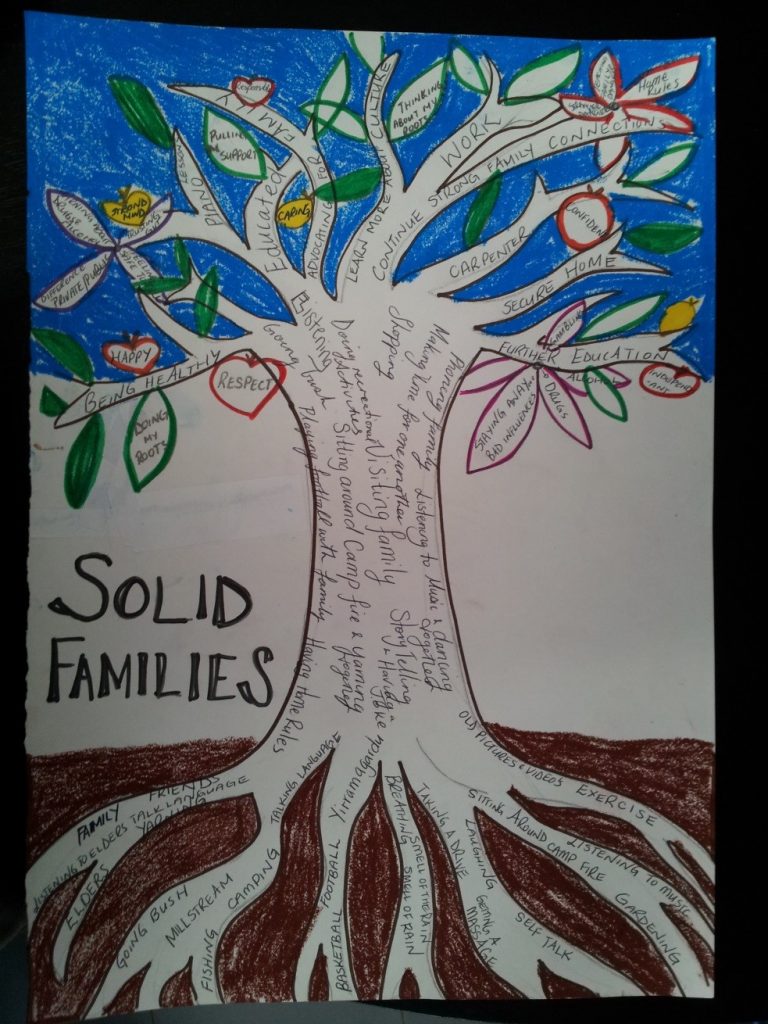
At this point we draw the tree outline, including roots, but we don’t yet include fruits, flowers, or leaves. We suggest having some examples showing different tree types and different page orientations (landscape or portrait), otherwise all the Personal Trees may end up looking like the Group Tree on the wall. If roots are not shown on your examples, pencil them in! We start with light pencil markings which can be ‘prettied up’ and coloured in later. People may be uncomfortable drawing, concerned that their efforts may not be ‘good enough’ or not ‘right’, so care is taken to reassure and participants might also offer each other assistance.
The process for creating every part of the tree involves the following steps:
- Whole group discussion using focus questions.
- When there are more than 5-6 people, if people are comfortable with the idea, we move into small groups to talk about the topic. In the small groups we write down words/phrases or draw little pictures so that these can be re-told to the whole group.
- Ideas are all written up clearly on the white board or flip chart. These words are then transferred to the Group Tree.
- If Personal Trees are being developed, the particular ideas which fit for individuals go onto their Personal Trees
- One person in the group is asked to tell a story about one of the important ideas.
- The facilitator asks questions to help the storyteller draw out the details, strengths and skills in the story.
- We move back into small groups/pairs to tell further stories to each other about the particular focus area.
- When there is time, one or more of these stories may also be brought back to the whole group.

